During an internship spent at Smart Design in San Francisco I had the opportunity to design and make a shield, which is essentially a circuit board which sits on top of a prototyping platform called Arduino, and offers features which the Arduino doesn’t have by its own. In this case radio frequency communication.
Shield

The final shield was designed, manufactured and populated with third party components to form the finished item above.

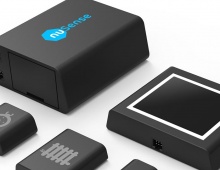
Why RF-communication though? At Smart we were playing around with the Ninja Blocks platform, which is used to connect various items around your home to the internet.
Creation

As we wanted to make our own peripherals they needed to be able to communicate with the Ninja Blocks base unit, and as so happens that communication takes place over 433MHz radio frequency. Hence, if we could make the Arduino communicate on the same frequency we’d be able to create anything we’d want to. An added benefit was also to enable two way communication between several Arduinos, independently of the Ninja Blocks platform.

Work started very crudely, with hooking up the necessary components to breadboards making sure that the idea behind it worked, and then creating a more reliable, soldered, version of the same

Once the concept was proven to work the circuit board which would make up the final shield was drawn up in CadSoft EAGLE PCB designing program, and sent off to a small scale manufacturer called OSH Park for production.

When the circuit board comes back it needs to be populated with the right components, as well as having headers added so it can be plugged into the Arduino board.
If you want to create your own version of the Smart Design RF Shield you can download the EAGLE project files as well as documentation on how to get your Arduino to speak with your final shield at GitHub at the following link: smartInteractionLab/arduinoNinjaShield.
You can also read a more in depth article about the creation of the shield at the Smart Interaction Lab blog: Making a Custom Arduino Shield for Ninjablocks.


